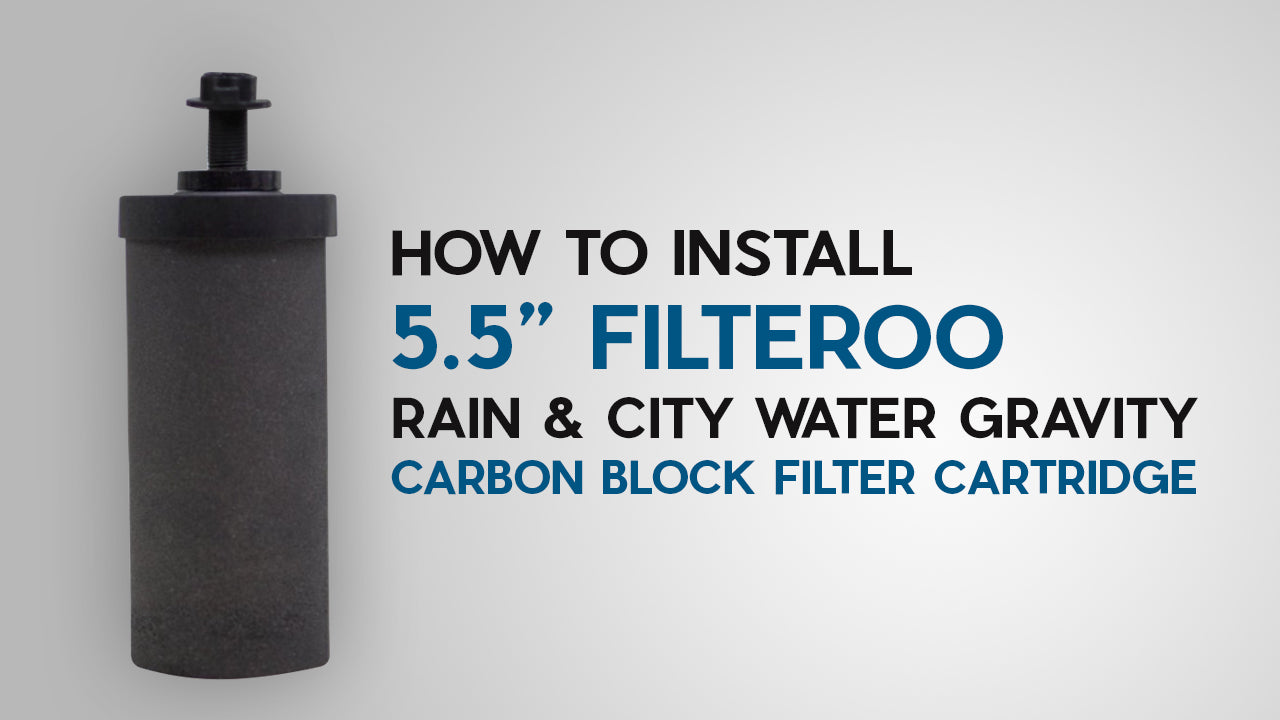
- Remove the locking nut from the cartridge threaded stem leaving 1 sealing washer over the end of the cartridge threaded stem.
- Insert the filter cartridge threaded stem through the hole in the top tank from the inside out.
- Then secure by screwing the locking nut onto the threaded stem on the underside of the top tank until tight. Do not over tighten.
- Ensure that the tap is in the off position.
- Fill the top tank with cold water and allow this water to filter through to the lower tank.
- It is recommended to drain the first filtered water to waste as it may contain carbon fines.
- Open the tap and allow the water to empty the bottom tank into a bucket or container. You can use this water for your garden or plants.
- We recommend flushing at least 12 litres of water through the cartridge using the process in steps 5 - 8.
- Please Note: If you are going to install the Filteroo Max Fluoride Removal Cartridges also, flush 12 litres of water through the black carbon cartridges at this time. As after you have flushed the fluoride removal cartridges & connected them as per the instructions, you can flush another tank of water through both the carbon cartridges and the fluoride removal cartridges together at the same time. Please see the Filteroo Max Fluoride Removal Cartridge Installation and Flushing Instructions.
- The filter is now ready for use


